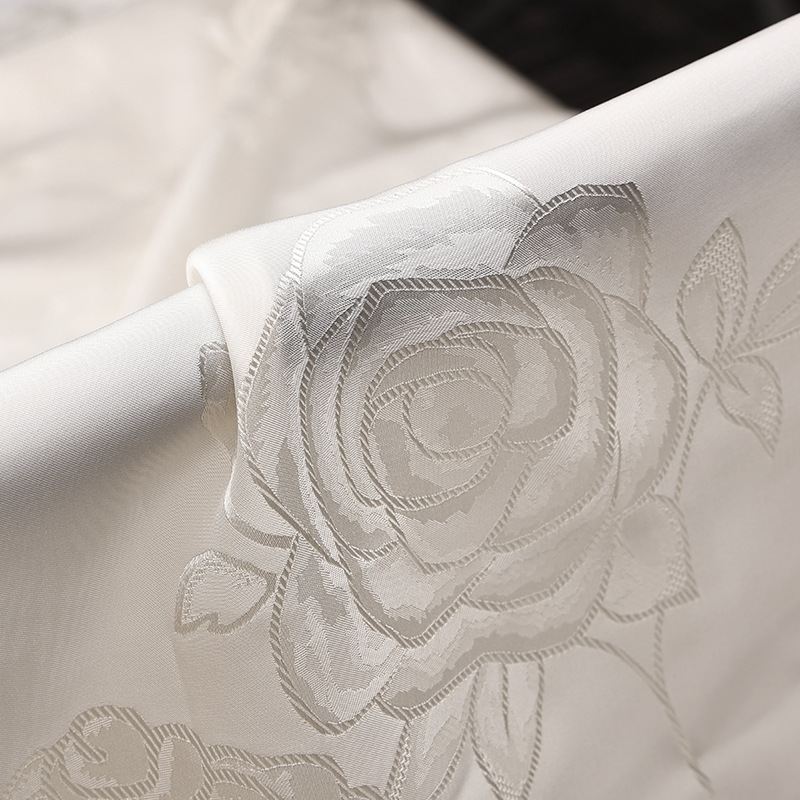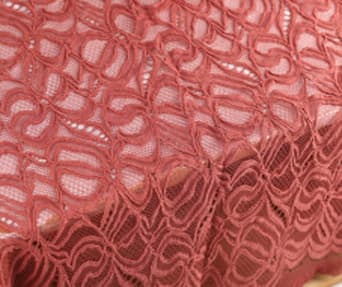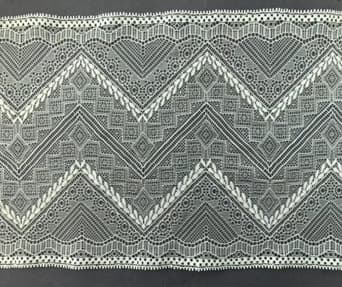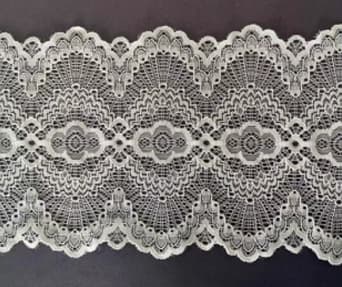

Yes, corded lace can often be repaired if it is damaged, although the best method depends on the type and severity of the damage. Small holes, loose threads, separated seams, and detached embroidered motifs may be repairable with careful hand stitching. More extensive damage to the mesh background or the raised decorative cords can require specialist textile restoration.
Corded Lace fabric is valued for its textured embroidery and distinctive raised patterns. Because its appearance depends on both the delicate background and the decorative stitching, repairing it requires more care than repairing many ordinary fabrics. Understanding the damage, selecting suitable thread, and using an appropriate repair technique can help preserve the original design.
1. Identify the Type of Damage
Before attempting a repair, examine the damaged area under good lighting. Determine whether the problem affects the mesh, the embroidered pattern, the raised cords, or a seam joining two pieces of fabric.
Different types of damage require different solutions:
Loose threads: A few loose stitches may be secured with fine matching thread.
Small holes in the mesh: Minor holes may be stabilized with delicate hand stitching or a compatible fine-mesh patch.
Broken decorative cords: The raised outlines may need careful reconstruction or specialist embroidery repair.
Detached lace appliqués: Loose motifs can often be reattached with small stitches placed around their original outlines.
Torn seams: Separated seams may be restitched if the surrounding fabric remains strong enough to support the repair.
Large tears or missing sections: Extensive damage may require patching, motif replacement, or professional restoration.
Do not pull on damaged threads to see whether they will come free. This can enlarge the hole or unravel more of the embroidered structure. Handle the lace gently until you understand the extent of the damage.
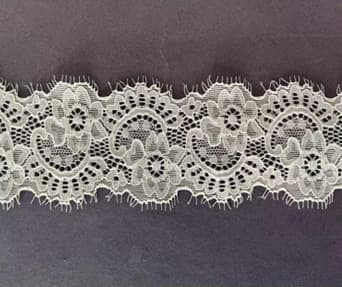
2. Gather the Right Repair Materials
Using suitable materials is essential when repairing corded embroidery lace. Thick thread, rough needles, or bulky patches may make the repaired area more visible and place additional stress on the delicate mesh.
Useful materials may include:
Fine hand-sewing needles: Choose a needle that can pass through the fabric without unnecessarily enlarging the holes.
Matching thread: Select a fine thread with a compatible color and fiber type.
Sharp embroidery scissors: Use them to trim loose ends carefully without cutting intact stitches.
Fine-mesh fabric: A compatible piece may be needed to support a hole or missing section.
Embroidery hoop or support: A suitable support can keep the fabric stable, provided it does not stretch or crush the lace.
Good lighting and magnification: These help identify individual stitches and the direction of the decorative cords.
Test the thread and repair materials on a spare piece of similar fabric whenever possible. If the lace contains multiple fiber types, metallic threads, beads, or glued embellishments, professional advice may be necessary before choosing a repair method.
3. Repair Small Holes in corded lace
Small holes in the mesh background may be repairable when the surrounding fibers remain intact. The goal is to stabilize the damaged area while preserving the fabric's original transparency and pattern.
Begin by placing the lace on a clean, flat surface. Avoid stretching the hole wider while examining it. If loose threads are present, identify which ones are broken and which remain connected to the surrounding embroidery.
For a very small hole, fine hand stitches may be used to bring the stable edges closer together. Work carefully with matching thread and avoid pulling the stitches tight enough to create puckering. The repaired section should lie naturally with the surrounding mesh.
If the hole is too large to close neatly, a small patch of compatible fine mesh may provide better support. Position the patch behind the damaged area and secure it with discreet stitches around the edges. The patch should match the original fabric as closely as possible in color, weight, transparency, and flexibility.
Do not use an oversized patch or heavy adhesive without confirming compatibility. Excessive bulk can make the repair noticeable and may change how the lace drapes.
4. Fix Loose Threads and Broken Embroidery
Loose threads are common repair issues in embroidered corded lace, particularly when the fabric catches on jewelry, zippers, or rough surfaces. The correct approach depends on whether the thread is simply loose or has broken completely.
If a thread is loose but still attached, gently guide it back toward the embroidered pattern. Use a fine needle to secure it with small stitches on the reverse side where possible. Avoid cutting the thread until you have confirmed that it is not holding other parts of the design together.
When an embroidery thread has broken, compare the damaged section with the surrounding stitches. Matching the stitch direction and tension helps the repair blend into the existing design.
For dense corded floral lace, broken stitches may affect several connected parts of a motif. Repairing only the visible loose end may not provide enough support. Examine the full flower, leaf, or decorative outline to identify the section that needs stabilization.
If the embroidery is intricate or the broken thread forms part of a prominent raised outline, a textile repair specialist may be able to reconstruct the detail more accurately.
5. Repair Damaged Raised Cords
The raised cords are a defining feature of corded lace. If one becomes detached, flattened, or broken, the repair may be more complicated than fixing an ordinary loose stitch.
First, check whether the cord is still intact and simply detached from the background. If so, it may be possible to secure it with small stitches that follow the original outline. Use thread that matches the existing embroidery and avoid compressing the raised structure.
If the cord has broken, examine whether the missing section is short and located in a simple part of the pattern. Reattaching or reconstructing the cord may be possible, but the replacement must be compatible with the original thickness, color, and flexibility.
Do not substitute thick thread for a decorative cord without testing the appearance. Differences in thickness and surface texture can make the repaired section stand out. A specialist may be needed to reproduce a complex curve or detailed floral outline.
After the repair, check that the cord follows the original pattern and that the surrounding mesh has not been pulled out of shape.
6. Reattach Detached Lace Appliqués
Corded lace appliqués are sometimes used on wedding dresses, formal gowns, sleeves, veils, and decorative accessories. They can become detached when the garment is worn, cleaned, or handled.
If the appliqué remains intact, position it carefully over its original location. Compare the shape and orientation with nearby motifs before stitching. Use fine matching thread and small stitches around the existing outline.
Secure the appliqué at several points rather than attaching it only at one edge. The number and placement of stitches depend on the motif's size and the stress placed on the area. Avoid stitching so tightly that the lace puckers or the decorative cords flatten.
For a wedding dress, inspect the reverse side to make sure the stitches do not create uncomfortable bumps against the skin. If the appliqué sits on a sheer section, keep the stitching as discreet as practical.
7. Repair Torn Seams Without Damaging the Lace
Sometimes the lace itself remains intact while the seam holding two pieces together has separated. This is often easier to repair than a tear through the mesh or embroidery.
Begin by checking the seam allowance and the condition of the surrounding fabric. If the mesh is stable, realign the original seam and secure it with fine stitches. Follow the existing seam line and use a thread compatible with the material.
If the seam allowance has frayed or torn, avoid stitching directly into weak fibers without reinforcement. A suitable support layer or a slightly adjusted seam position may be necessary, depending on the garment construction.
After sewing, gently inspect the seam for puckering and uneven tension. The repair should allow the garment to move naturally without putting excessive strain on the delicate lace.
8. When Should You Seek Professional Repair?
Not every damaged piece of corded lace should be repaired at home. Delicate or valuable garments may require specialized equipment, advanced embroidery skills, and compatible materials.
Consider professional repair when:
The lace has a large tear or several connected holes.
Important raised cords or complex embroidered motifs are missing.
The damage affects a visible section of a wedding dress or formal gown.
The fabric is vintage, antique, or particularly valuable.
The lace contains beads, sequins, metallic threads, or bonded embellishments.
Previous repair attempts have caused puckering, discoloration, or additional damage.
The fabric composition is unknown and may react poorly to ordinary repair materials.
A textile restoration professional can assess whether the original pattern can be reconstructed or whether a discreet patch is the better option. For bridal garments, seek a repair specialist who has experience working with delicate lace and embroidered fabrics.
9. How to Prevent Corded Lace from Being Damaged Again
Preventive care can reduce the likelihood of future repairs. Corded lace is vulnerable to snagging because its raised details may catch on rough surfaces, jewelry, fasteners, and other garments.
To protect the fabric:
Store lace garments away from rough or sharp objects.
Use garment bags suitable for delicate clothing during storage and travel.
Fasten zippers and hooks on nearby garments before placing them together.
Follow the manufacturer's washing and drying instructions.
Avoid pulling loose threads or decorative cords.
Inspect seams and appliqués periodically for early signs of separation.
Handle raised corded lace gently when dressing, folding, or packing it.
When washing is permitted, avoid aggressive rubbing and twisting. Excessive mechanical force can weaken the mesh, loosen the embroidery, or distort the raised motifs. For valuable garments, professional cleaning may be the safest option.
Frequently Asked Questions
Can corded lace be repaired at home?
Yes. Small holes, loose threads, detached appliqués, and minor seam damage may be repaired at home with suitable materials and careful hand stitching. Large tears and complex embroidery damage may require professional restoration.
Can damaged corded floral lace look like new again?
Some damage can be repaired so that it becomes difficult to notice, but an exact restoration is not always possible. The result depends on the original construction, the extent of the damage, and the availability of matching thread or replacement material.
Can I use fabric glue to repair corded lace?
Fabric glue is not always suitable for delicate lace. Adhesives may leave visible marks, stiffen the mesh, discolor the material, or interfere with future cleaning. Fine stitching is often preferable, but the best method depends on the fabric and the type of damage.
How do you repair a broken cord in corded embroidery lace?
If the cord is simply detached, small stitches may secure it along its original path. If it is broken or partly missing, the repair may require a compatible replacement cord and embroidery skills. Complex or highly visible damage is best assessed by a specialist.
Conclusion
Corded lace can often be repaired when damage is limited and the surrounding fabric remains stable. Small holes, loose embroidery, detached appliqués, and separated seams may be addressed with fine hand stitching and compatible materials. However, broken raised cords, large tears, and intricate decorative patterns require greater care. By assessing the damage before starting, choosing an appropriate repair method, and handling the lace gently, you can help preserve the texture, structure, and appearance of corded lace fabric.